


If you're a fan of self tanning—and who doesn't want to flaunt a gorgeous, natural-looking tan—you know the struggle of tanning joints. We're talking hands, feet, ankles, knees, elbows... they are all a bit tricky to get right. Most of us find ourselves either overdoing it (orange hands, AH!) or under tanning them (white hands, ah!). So if you're not up for spending hours under the sun, how do you get a self tan that looks good all-over, even those hard-to-tan areas? Well, if that's your situation, you're in luck! In this post, we'll cover everything you need to know to get the right technique so you can finally achieve an even sun-kissed glow. Dive in with us for expert tips on mastering self tanning on tricky spots, so you can confidently show off your hands and feet without fear!
Why are some parts of your body—hands, elbows, knees, ankles, feet—harder to tan?
When it comes to self-tanning, areas like ankles, knees, and wrists can be particularly challenging due to their unique skin composition and structure. These rougher areas often have thicker, drier skin that absorbs more product, leading to uneven and darker patches. Additionally, the skin around joints is constantly bending and flexing, which can cause the tanner to crease and create streaks or lines.

This, combined with the smaller surface area and the presence of fine lines or wrinkles, makes it difficult to achieve a seamless, even application of self tanning lotion. Understanding these challenges is crucial to mastering the art of self tanning and ensuring a flawless, natural-looking tan on these stubborn spots like hands and feet.

How to Tan Hands and Feet
1. Prepare your skin before you tan
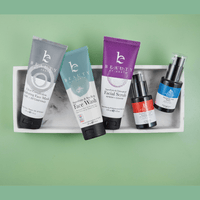
Before you start self tanning, it's essential to exfoliate and moisturize your skin to ensure an even application. This is just as true for the easy spots (arms, legs, tummy!) and the ultra-hard ones (elbows, knees, ankles). Pay special attention to these rougher areas, such as elbows, knees, hands, and ankles, as these spots tend to absorb more tanner. Use a gentle exfoliating scrub to remove dead skin cells, and follow up with a lightweight, non-greasy moisturizer to hydrate your skin.
2. Choose the right self tanning product
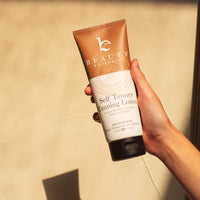
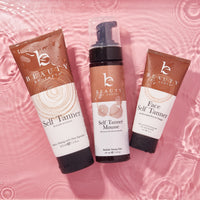
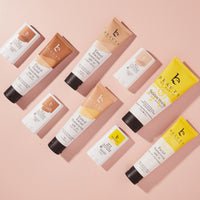
Select a self tanning product that suits your skin tone and type. Look for a formula that dries quickly, is easy to blend, and has a guide color to help you see where you've applied the product. Naturally, we're using Beauty by Earth's Self Tanner Lotion, since it's filled with natural ingredients that nourish skin and has zero dyes. You could also use a tanning spray, mousse, or even drops. Just make sure you're not using something filled with harsh or toxic chemicals. Even a lovely glowing tan isn't worth the health risks from some of those nasty ingredients. . .

3. Apply self tanner sparingly and evenly
For elbows, knees, hands, and ankles, less is more. Apply a smaller amount of self tanner on these areas, using a tanning mitt or a makeup sponge for a more precise application. Make sure to blend the product well, feathering it out towards the surrounding skin to avoid harsh lines and patches. If you're using a tanning mitt, bend your elbows and knees while applying to ensure even coverage.

4. Dilute the Self Tanner for tricky areas:
To achieve a natural-looking tan on hard-to-tan areas, mix a small amount of self tanner with your regular moisturizer. This diluted formula will help you avoid over-darkening and ensure a more subtle, even finish on areas like elbows, knees, hands, and ankles.
5. Give Your Tan Time to Develop

After applying the self-tanner, wait for it to dry completely before getting dressed or touching anything. Follow the product's recommended development time, which usually ranges from a few hours to overnight. To maintain your tan, moisturize daily, and reapply self tanner as needed, following the same tips for hard-to-tan areas.
Be a Self Tan Pro

Achieving a flawless, natural-looking tan at home is possible, even on those tricky spots like elbows, knees, hands, and ankles. By following these expert tips and using the right self-tanning products, you can enjoy a beautiful, sun-kissed glow all year round. So, go ahead and get your tan on with confidence, knowing you've mastered the art of self tanning in hard-to-reach areas. Happy tanning!


join the conversation
I used a different popular self tanner and ruined so much including my mattress. It was that natural either I started using Beauty by Earth preparing my skin with their exfoliate. I don’t even have problems with the tricky spots such as knees etc. I love Beauty by Esrth.
How do we apply it to our backs?
I wear a tank top to the gym and it’s obvious that my back isn’t tanned…ugh!
Does beautybyearth tanning lotion make your age spits more noticeable